.png)
Register for Class Steps
Prior to Attempting to Register for Classes Check Your Action Item(s). The directions below begin with telling you how to Check/Complete your Action Item(s).
- Log into LoLA
- Locate Self Service Banner Block
- Select Personal Information
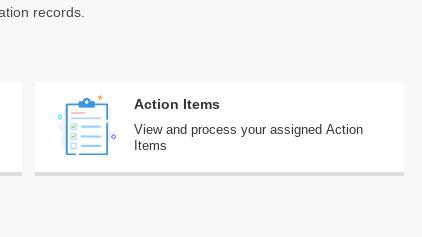
Action Items
- Select Action Items
Computer and Mobile Device Directions
The following directions are broken up into three parts for ease of use.
To begin, depending on what type of device is being used, follow the directions for either Computer Only or Mobile Device Only.
Once those steps are finished, please proceed to the Computer and Mobile Device Directions Continued section to complete the process.
Computer Only Directions
The Action Items will be listed on the left side of the page.
- At the upper right corner of the action item you will see __ of __. Example, 0/1. If you see 0/1 or 2/3, etc that indicates that you have an action item that needs to be completed.
- To complete the Action Item do the following:
- Select the arrow next to the number
- This will open up the box and you will see information about the Action Item
- Within that box on the upper left hand side you will see the word “Pending”
- Click below “Pending” label
- The Action Item Message will appear on the right side of the screen
- Read the message and acknowledge/save or answer the question(s) and select submit responses.
- Repeat this until all the numbers match. Example 1/1 or 2/2.
- Once all Action Items have been completed do the following to move forward to register.
- Select Student (Upper left hand corner)

Mobile Device Only Directions
- Select Return to the list (bottom of screen)
- Next to the Action Item Name on the right side you will see __ of __. Example, If you see 0/1 or 2/3, etc. that indicates you have an action item that needs to be completed within that section/folder. Make sure you complete all Action Items.
- To complete the Action Item do the following:
- Select the arrow above the number ___ of ___
- Left Click below “Pending” label
- The Action Item Message will appear
- Read the message and acknowledge/save OR answer the question(s) and select submit responses.
- To check to see if you have another Action Items select “Return to the list” (bottom or screen)
- Once you complete the Action Item(s) select MENU (upper right hand corner)
- Select STUDENT from the menu that appears
Computer & Mobile Device Directions Continued
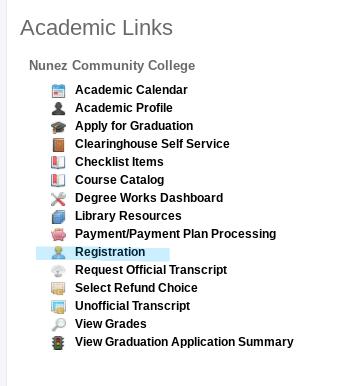
- Locate Academic Links Block
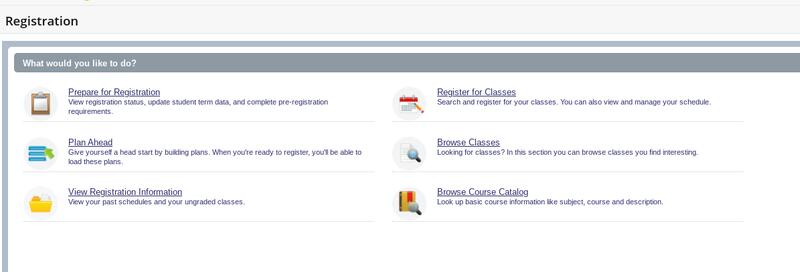
- Select Registration
- Select Register for Classes
- Select Term in the Search by Term Field
- Locate or Add Courses you would like to register for:
- You have three options to locate/add course(s): (on phone you will need to select panels in lower left hand corner to see options - this will show you the option to Find Classes to see the other options select menu)

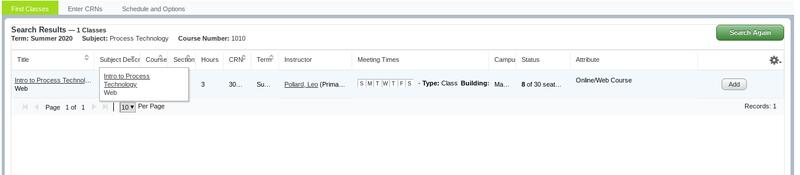
- Find Classes
- Enter the information for the course(s) you want to register in.
- Find the section you want to register in.
- Click the ADD button to add to the summary section.
- Once all courses are entered, click the Submit button in the Summary Section in the lower right hand side of the screen
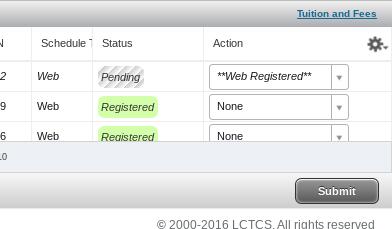
- If all registration requirements are met, the status of the course will change from “Pending” to “Registered”. If there is an issue with requirements, the status will be “Error Preventing Registration”. See Advisor
- Enter CRNs
- Enter CRN
- Click Add to Summary
- Click Add Another CRN, if applicable
- Once all CRNs are entered, click the Submit button in the Summary Section in the lower right hand side of the screen
- If all registration requirements are met, the status of the course will change from “Pending” to “Registered”. If there is an issue with requirements, the status will be “Error Preventing Registration”. See Advisor
- Plans (This may not be an option if you college hasn’t turned this on. If the tab is not there that indicates the college doesn’t use this option)
- Select Plans tab
- Select Plan to register from
- If plan list courses only, click View Sections
- Click the Add button to add section to registration
- Once all courses are entered, click the Submit button in the Summary Section in the lower right hand side of the screen
- If all registration requirements are met, the status of the course will change from “Pending” to “Registered”. If there is an issue with requirements, the status will be “Error Preventing Registration”. See Advisor